How to Create AI Images
End-to-end image creation workflow with Nano Banana
Learn how to create AI images that match your intent, not just random outputs. Nano Banana turns a brief idea into a structured visual through a repeatable workflow: define the use case, write a constrained prompt, generate a base image, refine one element at a time, and export an approved asset.
Start with $1 credit.
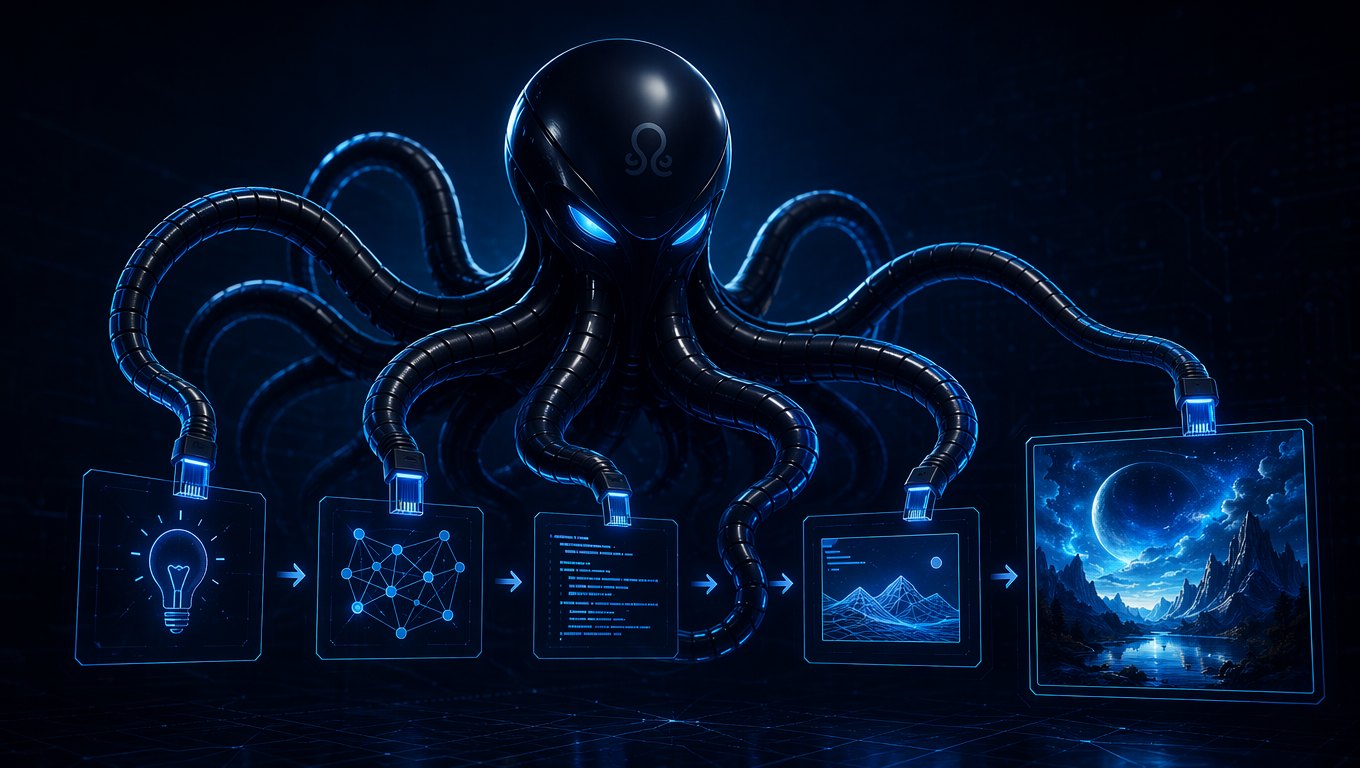
AI image creation workflow snapshot
How to create AI images with intent
Most failed AI images start with a prompt that is too broad. A reliable workflow begins with the final use case: a product ad, a social post, a character portrait, or a concept sketch. That use case decides aspect ratio, style, subject isolation, and how much text or branding the image can include.
Nano Banana then becomes the execution layer. Generate a base image that establishes subject, lighting, and composition. Then edit one major element per turn—background, color grade, object, or style—while protecting what already works. For prompt wording patterns, see the Nano Banana prompts guide. For a deeper tutorial on multi-turn editing, use the Nano Banana guide.
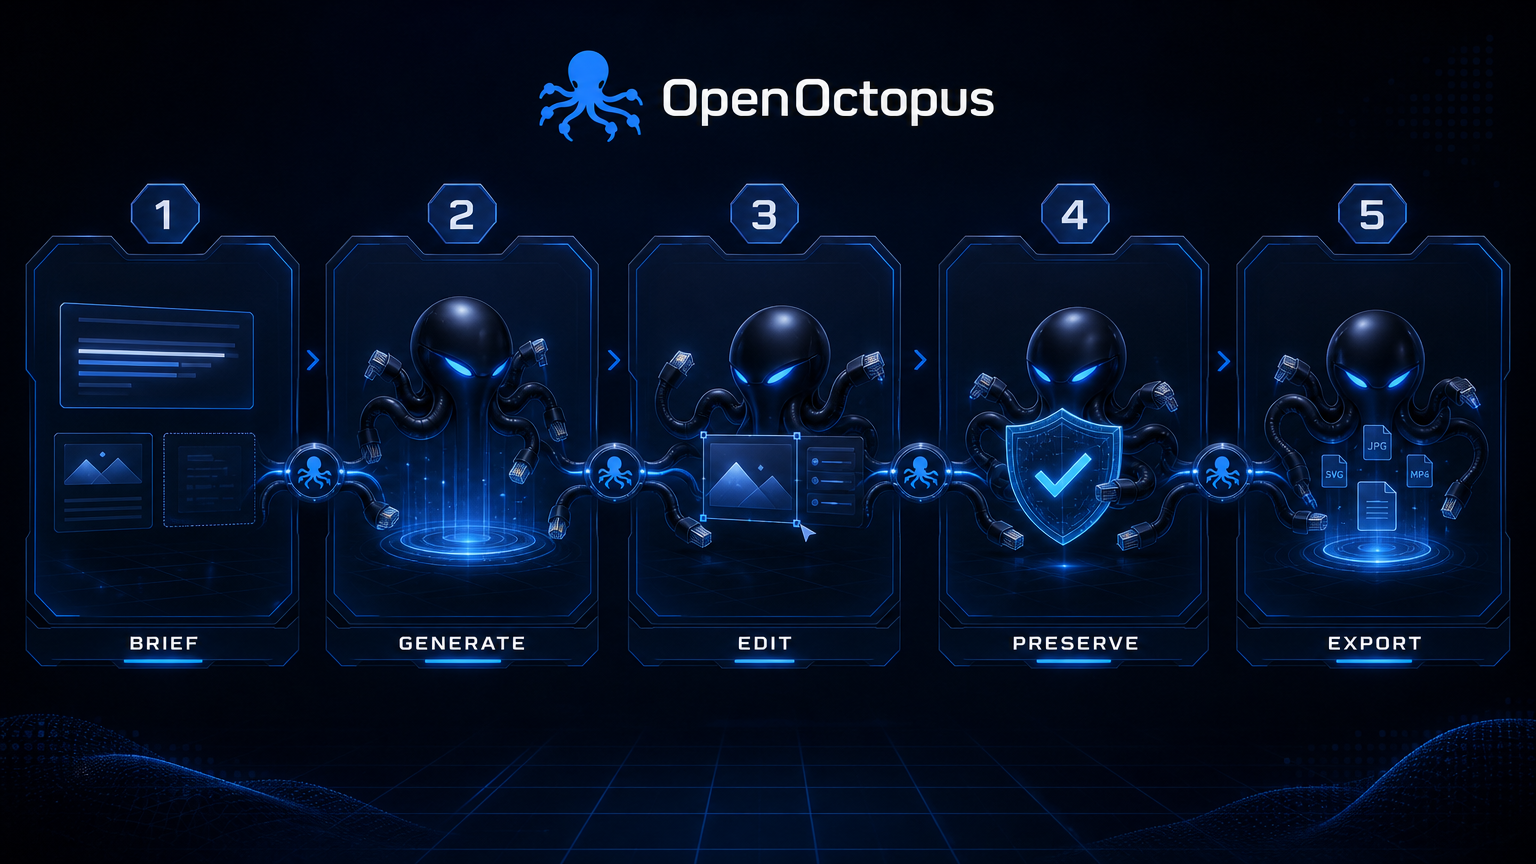
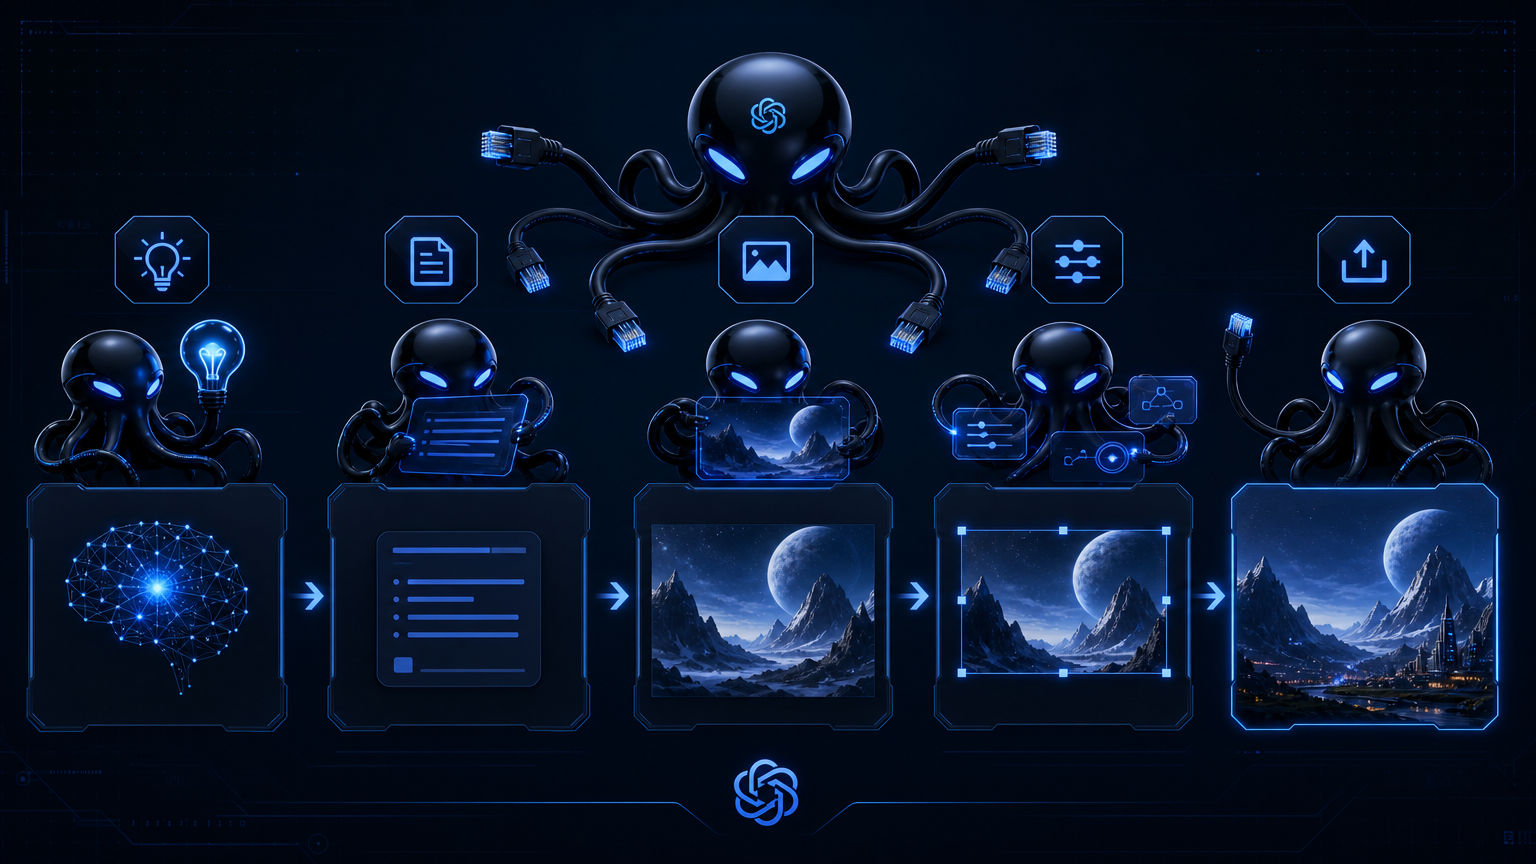
Five steps from idea to output
1. Write the brief. Describe subject, setting, lighting, style, aspect ratio, and final use in one sentence.
2. Generate the base image. Keep the first prompt simple. Establish the subject and composition before adding complexity.
3. Edit one element. Ask for one change at a time: replace the background, adjust lighting, add an object, or shift style.
4. Preserve identity. Use clauses like “keep the product label unchanged” or “do not alter the face” to protect critical details.
5. Export or automate. Save the final image, the prompt chain, and any reference uploads before moving to API batch generation.
What the workflow controls
Use-case brief
Match image format to final channel and intent
Base generation
Lock subject, angle, and lighting first
Single-element edits
Reduce drift by changing one thing per turn
Preservation clauses
Protect labels, faces, products, and shadows
Style transfer
Shift photos toward editorial, cinematic, or branded looks
Reference editing
Upload images and modify them conversationally
Version tracking
Save each approved state before the next edit
API handoff
Move stable prompt chains to Nano Banana API
What to create first
Start with a low-stakes asset that has a clear subject and background. Product photos, simple portraits, and social thumbnails are good first projects because the success criteria are visible and the edit loop is short. Avoid legal evidence, medical images, exact brand logos, or precise technical drawings until the workflow is proven on simpler visuals.
For teams that want to test the playground first, the Nano Banana online editor provides the same browser-based workflow without writing code.
Trust and source note
Google DeepMind's Gemini image page describes Nano Banana as native image generation and editing inside Gemini, and Google's Gemini image editing update highlights stronger handling of compound image editing instructions. Google's Nano Banana 2 announcement frames newer versions around stronger creation and editing quality. Use these sources for context, then validate output against your own images.
AI image creation workflow FAQ
Create AI images with Nano Banana
Open the playground, walk through the brief-to-output workflow, and save the prompt chains that work for your use case.
Start with $1 credit.